

Education
How to test if your VPN is working: 6 checks that matter
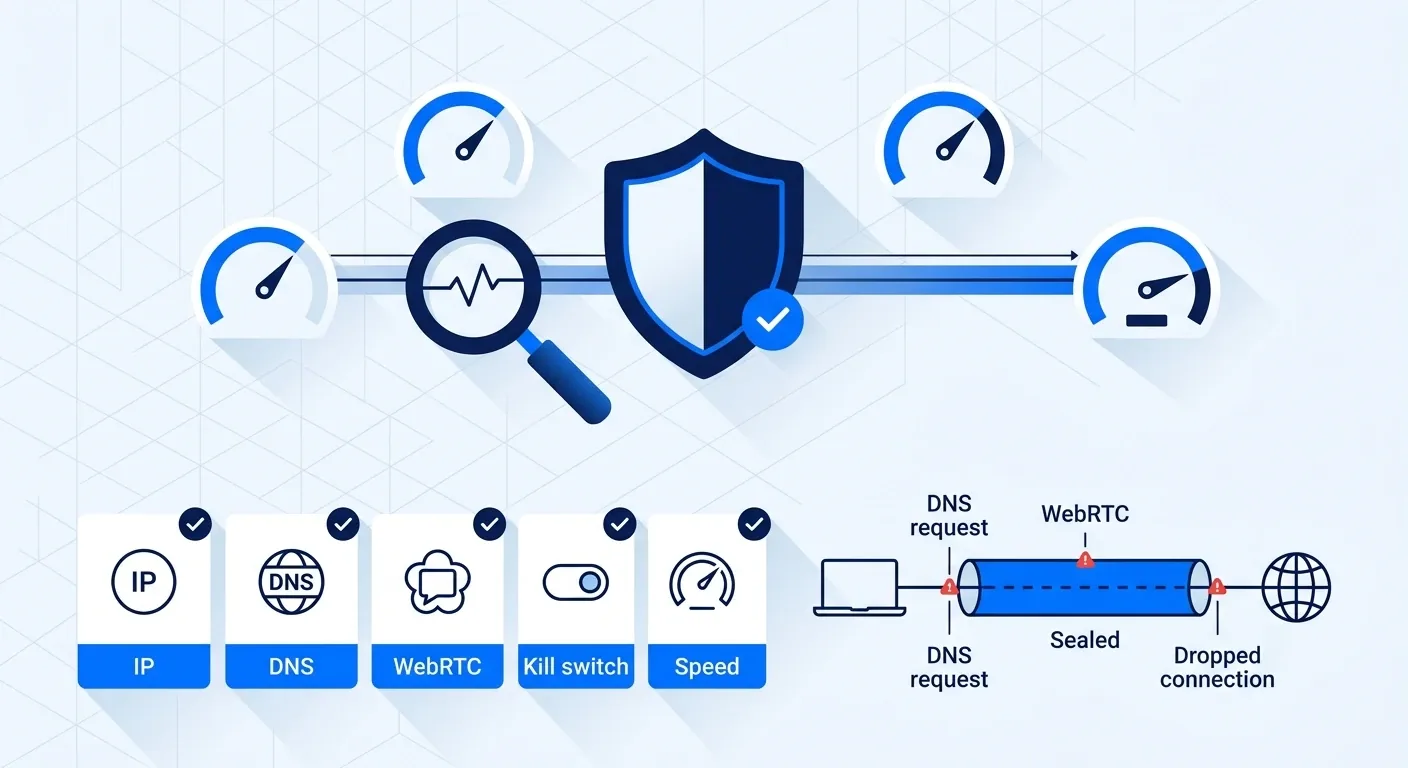
A VPN status light proves only that the app believes a tunnel exists. A proper VPN test checks what the internet can see, which DNS resolver answers, what the browser exposes through WebRTC, and what happens when the tunnel fails. The six checks below take about ten minutes and cover IPv4, IPv6, DNS, browser traffic, the kill switch, split tunneling, and connection stability.
Quick answer: is my VPN working?
Passing these checks shows that the tested device, browser, network, and VPN configuration behaved as expected at that moment.
- Compare your public IPv4 and IPv6 addresses before and after connecting.
- Check which DNS resolvers answer while the VPN is active.
- Inspect WebRTC results for your real public address.
- Interrupt the tunnel and confirm the kill switch blocks traffic.
- Verify that split-tunneled apps follow the routing rules you selected.
- Compare speed, latency, and stability on a nearby server.
It does not prove anonymity or guarantee that every future connection will behave identically.
Why a connected VPN can still expose information
A device may have several network paths at once. IPv4 can use the VPN while IPv6 follows the normal internet connection. DNS requests can go to a resolver chosen by the operating system, browser, router, or VPN. An app excluded through split tunneling is expected to show the normal connection.
WebRTC adds another layer. Browsers gather ICE candidates to establish real-time connections. Those candidates can expose addresses or network information useful for fingerprinting, although seeing a private local address is not the same as exposing your public home IP.
Testing therefore needs a baseline and a clear expectation. Decide which traffic should use the VPN, connect, and compare each result with the disconnected state. For the underlying concepts, start with what a VPN changes and what it does not.
Test 1: compare public IPv4 and IPv6 addresses
Disconnect the VPN and visit a reputable IP-check page. Record the public IPv4 address, any public IPv6 address, and the approximate location. Do not treat city-level geolocation as exact because IP databases can be outdated.
Connect to a nearby VPN server and reload the page in a private window. The visible public address should change to one assigned to the VPN. If IPv4 changes but the original IPv6 address remains visible, the configuration may be leaking IPv6 or intentionally leaving it outside the tunnel.
A location mismatch does not always mean failure. The VPN server can be physically hosted in one place while its IP block is registered elsewhere. The decisive result is whether the original public address remains exposed when it should be tunneled.
Test 2: check the DNS resolver path
With the VPN connected, use a reputable DNS resolver test. Run the extended check if available. Compare the organizations and countries shown with the VPN provider’s documentation.
Seeing a large public resolver such as Cloudflare or Google does not automatically prove a leak. Some VPNs intentionally use third-party encrypted DNS. The warning sign is an unexpected resolver belonging to the home internet provider when the VPN claims to route all DNS through its own service.
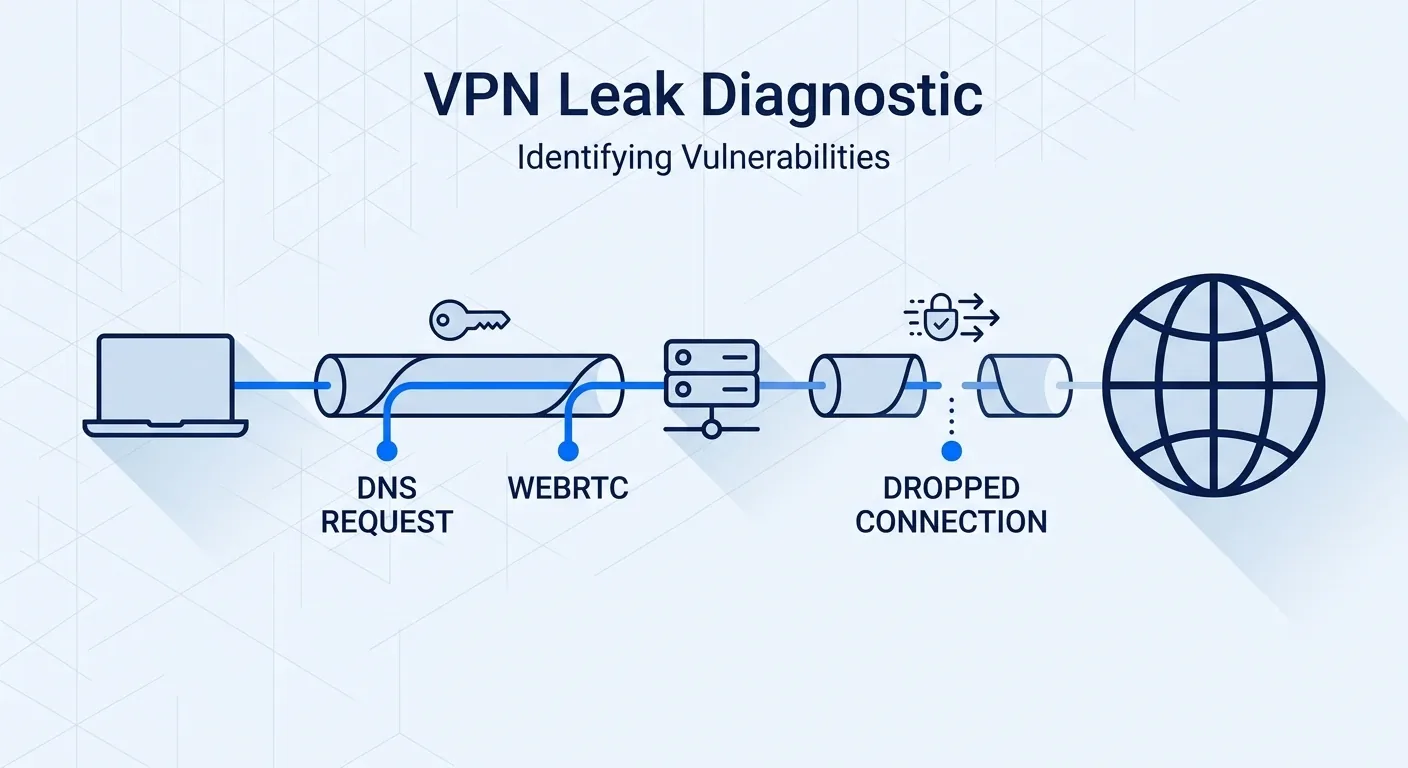
Browsers can also use encrypted DNS independently of the operating system. Repeat the check in the browser you normally use. If the route is wrong, follow the provider’s documented DNS settings or our guide to diagnosing a DNS leak.
Test 3: inspect WebRTC ICE candidates
Open a WebRTC test while the VPN is active. Look for the original public IPv4 or IPv6 address recorded in Test 1. If that public address appears, the browser path needs attention.
A private address such as 192.168.x.x, 10.x.x.x, or an mDNS hostname is not the same as exposing the public address. WebRTC legitimately gathers ICE candidates for calls and peer connections, and modern browsers include privacy protections that can change what a tester displays.
Do not disable WebRTC blindly because that can break video calls, voice chat, and browser conferencing. First enable the VPN provider’s leak protection, update the browser and VPN app, and test again. Use browser-level restrictions only when you understand the functional trade-off.
Test 4: verify the kill switch safely
Read the provider’s kill-switch documentation first. Some products block traffic after an unexpected tunnel failure but intentionally restore the normal connection when the user presses Disconnect. Closing the app may produce another result.
Enable the kill switch, connect the VPN, and open a harmless page that can be refreshed repeatedly. Then interrupt the tunnel using the provider’s documented test method, such as temporarily changing the active network or stopping the VPN process. Do not perform the test while transferring sensitive information.
The page should stop loading until the protected tunnel returns or until you explicitly disable the kill switch. Repeat the test after major app or operating-system updates. Our VPN kill-switch guide explains system-wide and app-level behavior.
Test 5: verify routing and split tunneling
Split tunneling deliberately sends selected apps or destinations outside the VPN. Review the rule list before testing so you know which result is expected. Open an IP-check page inside a tunneled browser and, if possible, inside an excluded browser or app. The tunneled path should show the VPN address; the excluded path should show the normal connection.
Also check for a second active interface such as Ethernet, Wi-Fi, mobile hotspot, or another VPN. Operating systems choose routes by priority, and overlapping VPN or security software can produce results that look random. Disable only the extra connection needed for diagnosis, then restore it afterward.
If an app ignores the selected rule, remove and recreate the split-tunneling entry or test with split tunneling disabled. Remember that excluded apps receive no VPN tunnel protection by design.
Test 6: measure speed and stability
Run one speed test without the VPN and another with a nearby server. Use the same device, test service, connection type, and approximate time. Record download speed, upload speed, and latency, then repeat each test more than once because a single result can be noise.
Every VPN adds processing and routing overhead. There is no universal percentage that a modern protocol should retain. Distance, server load, Wi-Fi quality, device power, ISP routing, and protocol choice all affect the result.
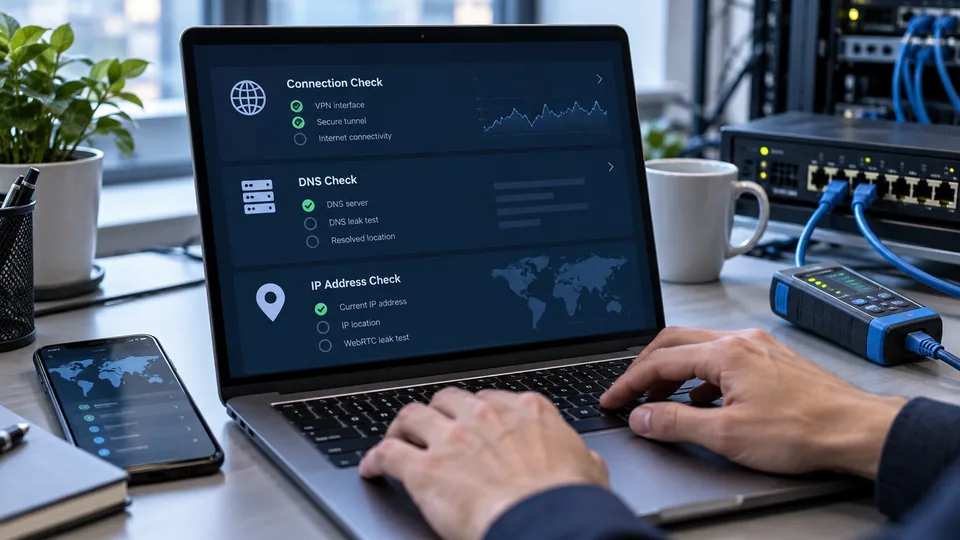
If performance is poor, try another nearby server and the provider’s automatic protocol setting. Stability matters more than winning one speed-test run. Packet loss, frequent reconnects, or large latency swings can make a fast headline result unusable.
What to do when a VPN test fails
- Confirm the failed result against the disconnected baseline.
- Update the VPN app, browser, and operating system.
- Reconnect to a nearby server and repeat the same test.
- Review DNS, IPv6, WebRTC, split-tunneling, and kill-switch settings.
- Temporarily disable another network or security tool that may be changing routes.
- Send the exact result and device details to the VPN provider’s support team.
Do not assume every unfamiliar DNS name or location is a leak. Identify the original public addresses first and compare the provider’s documented behavior. If repeated tests continue to expose traffic that should be tunneled, stop using that configuration until the cause is understood.
Price alone does not predict the outcome. A reputable limited free plan can be safer than an unknown paid app, while an unverified free service can introduce its own risks. Our free VPN safety guide explains what to check.
VPN test FAQ
Final checklist
A useful VPN test begins with the original IPv4 and IPv6 addresses, then checks DNS, WebRTC, kill-switch behavior, split-tunneling routes, and stability. Record what should happen before interpreting the result. An unfamiliar server name is not automatically a leak, and a green app icon is not proof that every path is protected.
Repeat the checks after important updates or network changes. If the original public address or home-ISP DNS appears where the provider says it should not, stop sensitive activity, document the result, and contact support before relying on the connection again. When the DNS check is the one that fails, our guide to fixing a DNS leak gives the steps for each operating system.